EXCLUSIVE: Dermot Mulroney, Katherine McNamara, Rhys Coiro, Annie Ilonzeh, and Oscar-winner Mel Gibson have signed on for the indie spy thriller Agent Game, which is being directed by Grant S. Johnson (Nighthawks). Mike Langer and Tyler W. Konney wrote the screenplay, which is set in the murky world of CIA renditions.
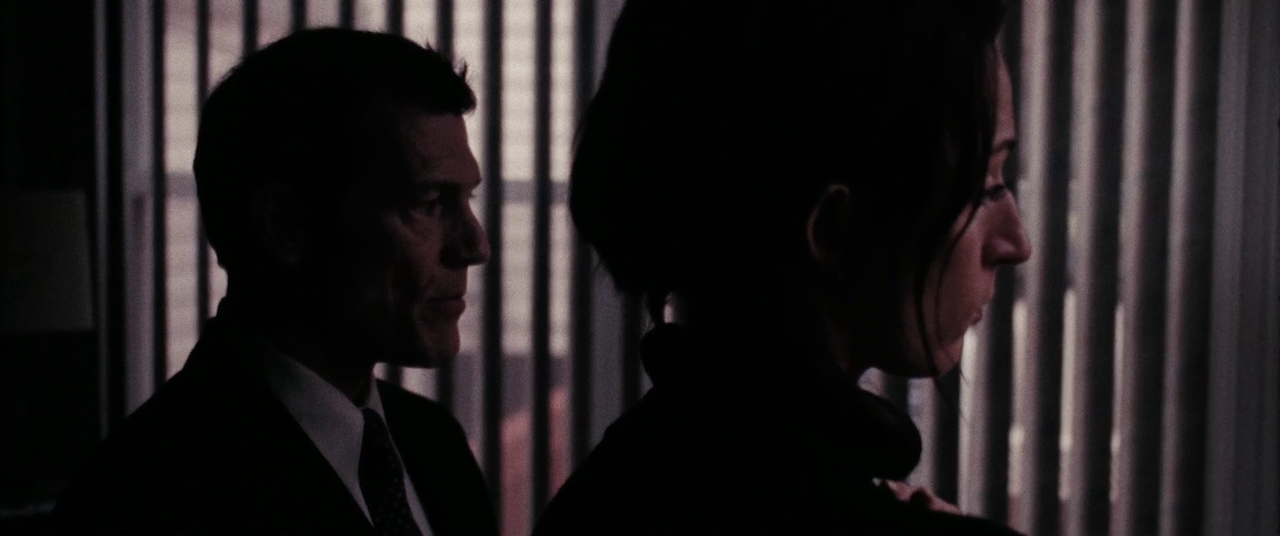
The plot follows Harris (Mulroney), a CIA officer involved in missions to detain and relocate foreign nationals for interrogation. When a political shift in Washington turns his allies into enemies, Harris finds himself the scapegoat for a detainee’s murder and must run from a team of operatives sent to bring him in (McNamara and Coiro), led by a ruthless double agent (Ilonzeh). Gibson has a small role as an intelligence official running the unsanctioned covert operation to hunt down the disgraced spy.
Tyler W. Konney is producing the pic via the Taylor & Dodge banner, which is also handling worldwide sales.
Gibson, repped by APA and Brecheen, Feldman, Breimer, can currently be seen in action-thriller Boss Level on Hulu and upcoming has the Tim Kirkby-directed action-thriller Last Looks as well as Mark Neveldine’s action film, Panama. Mulroney starred in the Sundance drama The Blazing World and has a recurring arc on the Fox series, Prodigal Son. He is repped by Luber Roklin and Paradigm.
McNamara, best known for starring in the YA series Shadowhunters: The Mortal Instruments and Arrow, has a recurring role in CBS’ The Stand, a series adaptation of the Stephen King novel. She is repped by Atlas Artists and CAA.
Coiro, whose credits include Entourage, A Million Little Things, The Walking Dead, and Ray Donovan, is repped by Luber Roklin, Paradigm and Brecheen Feldman Breimer. Ilonzeh appeared opposite Jennifer Garner in the action-thriller Peppermint and starred in the NBC/ Dick Wolf series Chicago Fire. She is repped by APA and Etcetera and Company.
Johnson is repped by Singh, Singh & Trauben and Untitled Communications.